Kite calamities can occur when you least expect them, transforming a day of delight into a dilemma. If you’re facing a tear in the sail or a broken spar, don’t despair. You’ve got options that range from quick fixes to more thorough repairs, all of which can restore your kite to its former glory.
Whether it’s using clear tape for minor tears or replacing spars for more significant damage, the right approach can make all the difference. Imagine mastering these techniques, ensuring your kite flies high once more. Curiosity might just lead you to uncover some ingenious repair methods yet discussed.
Contents
Inspecting the Damage
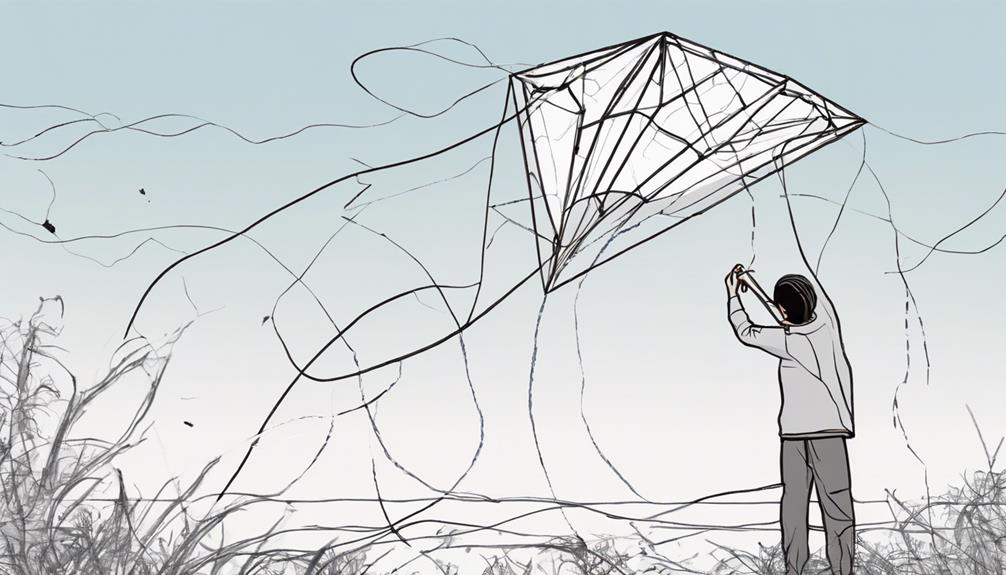
Before attempting any repairs, it’s crucial to thoroughly inspect your kite for tears, fraying bridle lines, damaged spars, or any missing components to understand the extent of the damage. Start by spreading your kite out in a well-lit area where you can easily see every part of it.
Carefully check the fabric for any signs of wear, such as tears, rips, or holes that the wind could exacerbate the next time you fly it. Examine the bridle lines closely for fraying or damage that could affect the kite’s flight.
Inspect the spars or rods for cracks or bends that compromise the kite’s structure. Finally, assess the overall structural integrity of your kite to determine if it’s fit for the wind or needs repair. This detailed review is essential in assessing the damage accurately.
Gathering Repair Supplies
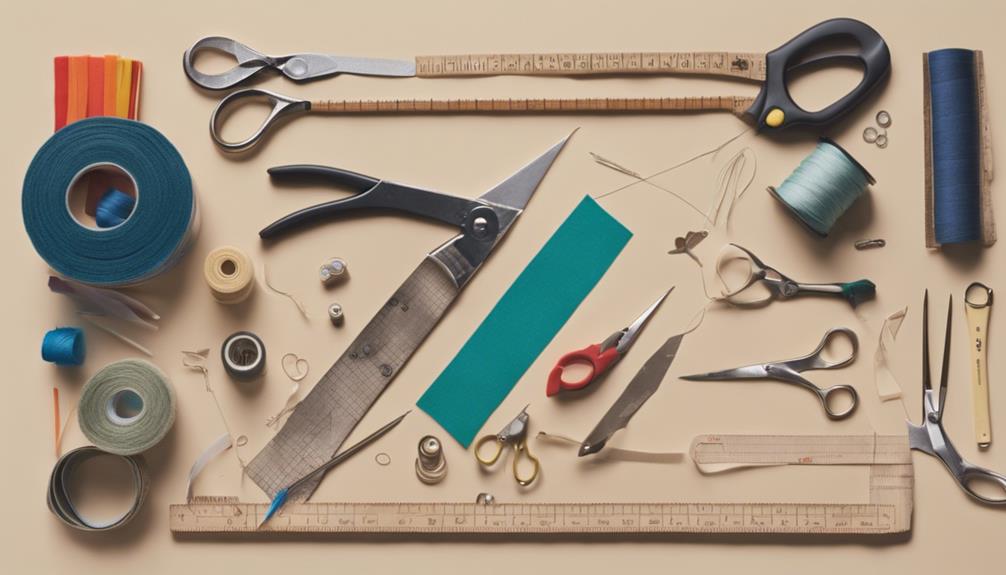
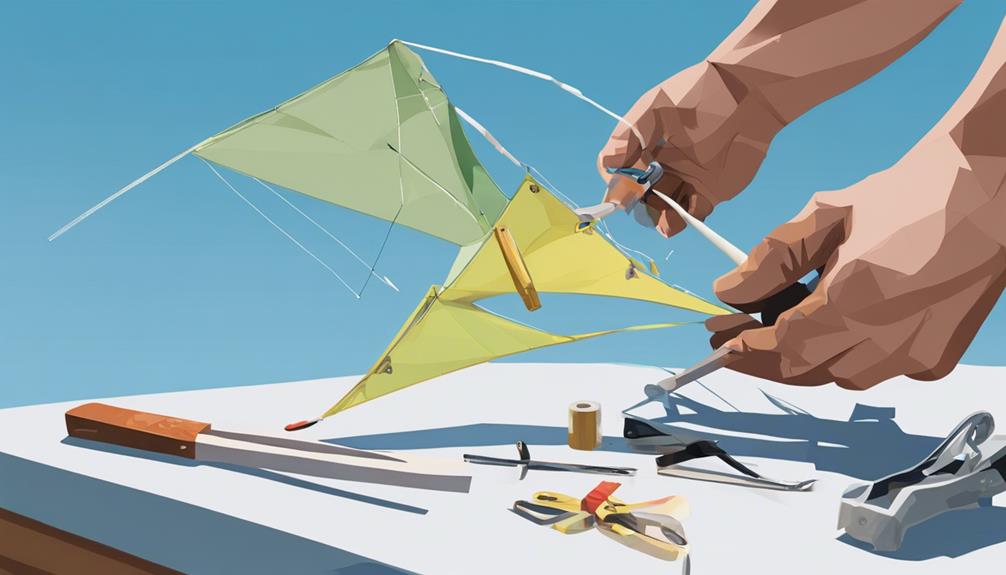
Having assessed the extent of your kite’s damage, it’s time to gather the necessary supplies for the repair process. Start by collecting ripstop nylon patches, adhesive tape, glue, and spare bridle line, ensuring they match your kite’s color and material for a seamless fix.
Don’t forget essential tools like scissors, a ruler, a pencil, and a lighter for precise cutting and sealing. Keeping a repair kit in your kite bag allows for quick fixes, ensuring you’re always ready to fly, regardless of wind conditions.
Regularly check your supplies to make sure everything is fresh and effective. This proactive approach ensures you’re always prepared for on-the-go repairs, keeping your kite flying high and uninterrupted by minor setbacks.
Fixing Tears and Holes
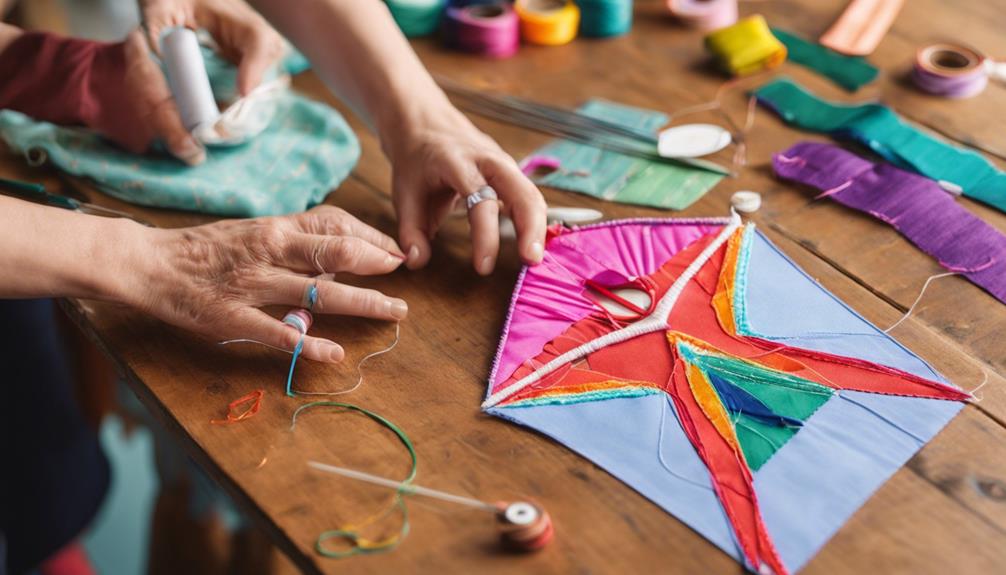
To address small tears or holes in your kite’s fabric, start by applying clear adhesive tape directly over the damaged area. This quick fix ensures your kite can still fly properly without the damage worsening.
For more significant tears or holes, opt for kite repair tape or patches, which are specifically designed for this purpose. It’s crucial to apply the adhesive material to both sides of the tear, creating a secure and durable repair.
Carefully smooth out any air bubbles or wrinkles to guarantee the tape or patch adheres properly. Finally, allow the adhesive to fully cure before attempting to fly your kite again. This patience ensures the repair holds and your kite remains in top flying condition.
Repairing Broken Spars
When you spot damage on your kite’s spars, it’s crucial to act swiftly to maintain its performance.
Selecting the right replacement materials, such as fiberglass or carbon fiber, ensures your kite can withstand future flights.
Identifying Spar Damage
Before attempting any repairs, it’s crucial to carefully inspect your single-line kite for any splintered or cracked spars, as these will need replacement to ensure optimal flight performance. Identifying a damaged spar is the first step toward restoring your kite’s integrity. Once you’ve pinpointed the problem, measure the damaged spar to select an appropriate replacement spar.
Carefully removing the damaged piece without causing further damage to your kite is essential. You’ll then insert the new spar, making sure it fits securely and aligns perfectly with the kite’s structure. Use adhesive or tape to firmly secure the replacement spar, completing a sturdy repair.
| Step | Key Action |
|---|---|
| Identify Damage | Look for splintered or cracked spars. |
| Measure & Replace | Measure damaged spar and choose a suitable replacement. |
| Secure Replacement | Use adhesive or tape to secure the new spar in place. |
Choosing Replacement Materials
Selecting the right materials for repairing broken spars is crucial, as your choice directly impacts the kite’s durability, flexibility, and overall flight performance. Make sure to choose spars made of durable materials like fiberglass or carbon fiber, which offer the best blend of strength and flexibility.
It’s essential to consider the length and diameter of the broken spar to ensure the replacement fits perfectly, maintaining the kite’s balance. Look for replacement spars that are lightweight yet sturdy, especially if you’re flying in stronger winds.
Spars with pre-cut and tapered ends facilitate easier insertion and alignment, leading to a smoother repair process. Additionally, check if the spar comes with connectors or ferrules, as these are vital for securely joining the pieces together, ensuring your kite remains at the leading edge of performance.
Spar Repair Techniques
To repair a broken spar in your single-line kite, start by using either a splint or a new replacement spar cut to the exact length needed for a snug fit. Spar repair techniques require precision and attention to detail to ensure your kite flies as well as new. Here are three key steps to follow:
- Measure the broken spar accurately and cut your replacement spar to match this size perfectly. This ensures a proper fit within the kite’s sleeve.
- Insert the replacement spar into the kite’s sleeve, then secure it using either tape or glue for added stability.
- Test the repair by gently flexing the kite to make sure it can withstand wind pressure. Additionally, ensure the ends of the replacement spar are properly secured to prevent any sharp edges from damaging the kite fabric.
Replacing the Kite Line
In order to ensure your kite soars high and uninterrupted, you must choose the right line weight and material that match your kite’s size and the prevailing wind conditions. Measure the old kite line’s length before cutting a new one, ensuring it’s perfectly sized. A clean cut and a secure knot are fundamental for a strong connection to your kite, guaranteeing optimal performance.
| Step | Action | Tip |
|---|---|---|
| 1. Measure | Record the length of the old line. | Use a tape measure for accuracy. |
| 2. Cut | Make a clean cut on the new line. | Use sharp scissors. |
| 3. Attach | Tie a secure knot connecting the line to the kite. | Practice knot-tying beforehand. |
Regular checks and replacements of the kite line ensure long-lasting fun and safety.
Final Checks and Adjustments
After completing repairs and adjustments, you must conduct a thorough inspection of your kite, ensuring everything from the bridle lines to the sail is in optimal condition for flight.
Before you fly your kite, follow these steps:
- Inspect the kite’s sail for any tears, holes, or damage. Even minor imperfections can significantly impact performance, so address these issues promptly.
- Check the bridle lines for tangles, twists, or wear. These lines are vital for controlling your kite, and any flaws can hinder its ability to soar.
- Adjust the tow point as necessary. This fine-tuning can drastically improve your kite’s stability and responsiveness in various wind conditions.
Conclusion
In conclusion, effectively repairing your single-line kite boils down to diligent assessment and precise action.
- Always begin by identifying the damage, whether it’s a rip in the sail or a fractured spar.
- Utilize your repair kit, ensuring you’ve got tape, spare parts, and extra material on hand.
- For fabric tears, apply adhesive with care, and for spar issues, secure replacements firmly.
- Don’t forget to test the kite line and make the necessary adjustments.
With these steps, you’ll have your kite soaring high again in no time.