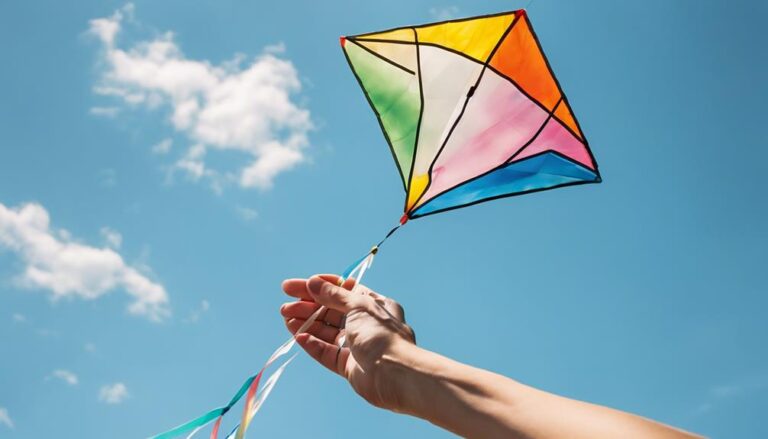
Kite flying is a fun and exhilarating activity that can be enjoyed by people of all ages. However, when your kite constantly nosedives, it can be a frustrating experience.
We’ll cover various steps to help you understand the potential issues and how to address them, ensuring a smooth and enjoyable kite-flying experience.
Contents
Identifying the Type of Kite
Before you can begin troubleshooting, it is crucial to identify the type of kite you are working with. For the purpose of this guide, we will focus on single-line kites, which are the most common type used for recreational flying.
Inspecting the Kite’s Bridle
The bridle is the part of the kite that connects the flying line to the kite itself. It plays a crucial role in maintaining the kite’s stability and balance in the air. Here are some things to check:
1. Bridle Length
Ensure that both sides of the bridle are exactly the same length, as uneven lengths can cause the kite to nosedive.
Measure the distance from the tow point (where the flying line connects) to the kite on both sides and adjust as needed.
2. Tow Point Position
The tow point is the spot on the bridle where the flying line attaches. If the tow point is not optimal, it can result in a nosediving kite.
Experiment with moving the tow point up or down to find the best position for a stable flight.
Launching the Kite Properly
Launching the kite correctly can make a significant difference in its performance. Here are some tips to ensure a successful launch:
1. Line Length
Let out at least 20-30 feet of line before launching the kite. The more line you have out, the better the kite will respond to changes in wind direction and speed.
2. Clear Launch Area
Ensure you are launching the kite in a wide-open area free of trees, buildings, and other obstructions that could affect the wind and cause turbulent air.
Adding Tails for Stability
Tails can add stability to a kite, helping to prevent nosedives. If your kite already has tails, try adding more or using longer tails.
Experiment with different lengths and materials, such as ribbon or lightweight fabric, to find the optimal combination for your kite.
Checking the Kite’s Frame and Structure
Inspect the kite’s frame and structure for any defects or damage. This includes:
1. Cross-spar Alignment
If your kite has a cross-spar with a center T fixing, ensure that the center of the kite is closer to you than the wingtips. This may require adjusting the center T-piece.
2. Damaged or Broken Parts
Replace any damaged or broken parts, such as the spars or connectors, as these can cause the kite to nosedive.
Evaluating Wind Conditions
The wind plays a significant role in the kite’s performance. Here are some factors to consider:
1. Wind Speed
Ensure that you are flying your kite in suitable wind conditions. Too little wind can cause the kite to stall, while too much wind can cause it to nosedive.
2. Turbulent Air
Avoid flying your kite in turbulent or “dirty” air, resulting from flying near trees, buildings, or other obstructions. Turbulent air can cause the kite to nosedive and make it difficult to control.
Final Thoughts
If you’ve tried all of these troubleshooting steps and your kite still nosedives, it might be time to consider other options to enhance your kite flying experience.
Upgrading Your Kite
If your current kite doesn’t seem to be performing well despite your best efforts, it could be a sign that it’s time to invest in a higher-quality kite.
Look for reputable kite manufacturers and retailers, and read customer reviews to find a kite that is known for its stability and ease of flying.
Many kite flying clubs and communities can offer advice and recommendations based on their experience.
Beginner-Friendly Kite Options
For those new to kite flying, here are some popular kite options that are known for their ease of use and stability:
- Delta kites: These triangular-shaped kites are great for beginners because they are easy to launch and generally fly well in a variety of wind conditions. They often come with built-in tails for added stability.
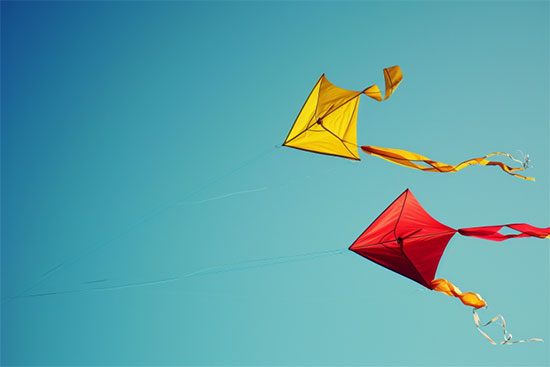
- Diamond kites: The classic diamond shape is another excellent choice for beginners. Look for kites with a larger surface area and a tail to ensure a more stable flight.
- Box kites: These kites have a unique, box-like structure that provides excellent stability and wind resistance. They might require a little more skill to launch but are generally quite stable once airborne.
- Parafoil kites: Made from fabric with no rigid frame, these kites are known for their easy setup and transport. Parafoil kites are often stable and beginner-friendly but may require slightly stronger wind conditions to fly well.
Tips for a Better Kite Flying Experience
While kite quality plays a crucial role in preventing nosedives, it’s also essential to consider other factors that can improve your kite-flying experience.
- Choose the right location: Look for open spaces with few obstructions such as trees, buildings, or power lines. This will ensure you have consistent wind flow and minimize the chances of nosedives caused by “dirty air.”
- Monitor wind conditions: Optimum wind conditions for kite flying are generally between 5 and 25 mph. Make sure to check local wind forecasts before heading out to fly your kite, and be prepared to adjust your kite flying techniques based on wind strength.
- Practice your technique: Like any skill, kite flying takes practice. The more you fly your kite, the better you’ll become at controlling it and preventing nosedives.
- Join a kite flying community: Connecting with other kite enthusiasts can provide invaluable tips, advice, and support. Look for local kite clubs, workshops, or online forums to share your experiences and learn from others.
By following these tips and investing in a quality kite, you can significantly reduce the likelihood of nosedives and ensure a more enjoyable and successful kite-flying experience for both you and your loved ones.